After you’ve pointed CRM over to port 85, let’s head back into our Share Point Central Administration Site.
Select our Share Point Central Administration v4 and then under Browse Web Site click browse (48835 in my case).
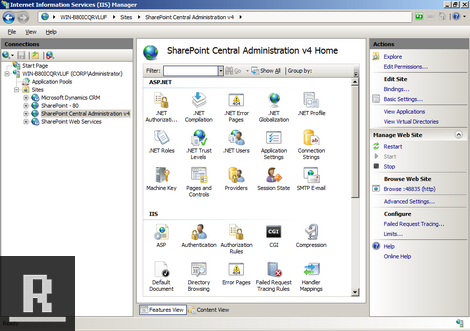
Once in the Central Administration click “Manage web applications”.

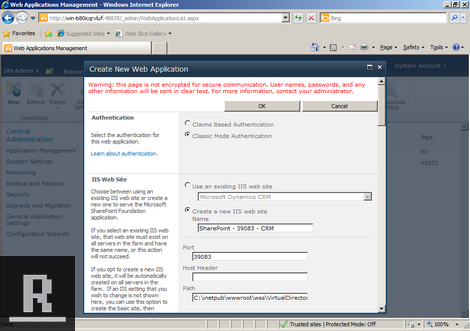
Once the next page comes up, click “New” and you’ll be greeted by the Create New Web Application Screen. Add “– CRM” to the website name and click OK.
Web Application has been created! Click OK to see your newly created Web Application (port 39083 is my lucky number that’s been generated for me).
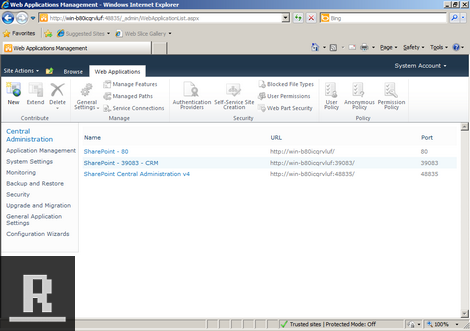
Let’s go create a Share Point 2010 site collection.