We’re going to need to download CRM 2011RTM (90 day trial). Link:
Once downloaded, it will prompt you for a folder to drop the CRM installation files into. I created C:\CRM for this purpose.
Next prompt will be about updates. Make sure Get updates from Microsoft Dynamics CRM is clicked. Click Next
Once it’s done updating (I didn’t have any at the moment), click Next.
Punch in the serial from the above link. Microsoft Dynamics CRM Server 2011 (no CAL limit): MQM2H-JYYRB-RRD6J-8WBBC-CVBD3 and click Next.
Agree to the License Agreement. Click Next.
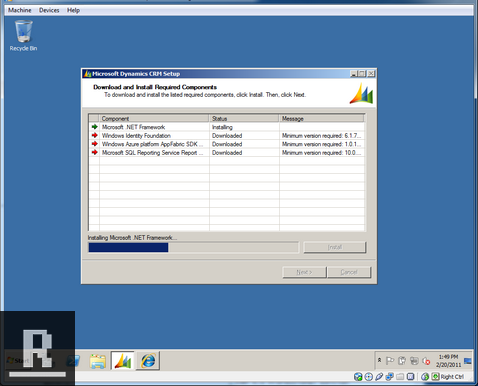
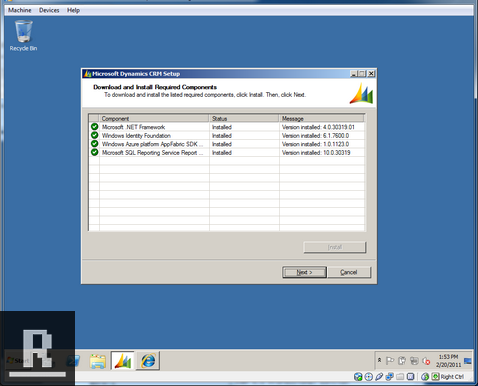
On the Download and Install Required Components, click Install. It will prompt to download components, click Yes. Pre-warning: I had this step freeze up (no installation bar and all the arrows stay red) if this happens, wait 30 minutes, kill the task, and restart from the top of this post. Once done, click Next.
Leave the default installation directory, click Next.
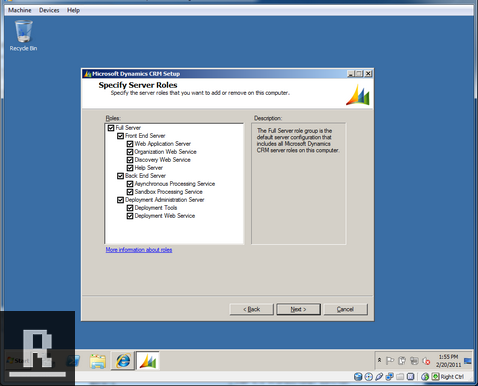
Specify Server Roles, make sure all boxes are checked and click Next.
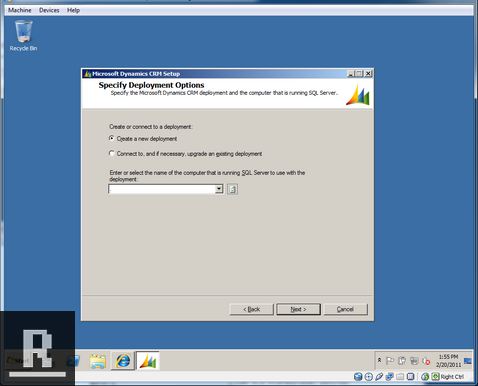
Specific Deployment Options. Put a “.” In the box (localhost), and make sure Create a new deployment is marked.
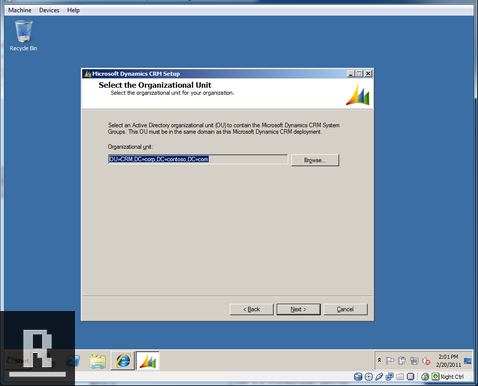
Select the Organizational Unit. We need to create an OU for CRM before we can proceed with this step.
Click Start -> Administrative Tools -> Active Directory Users and Computers.
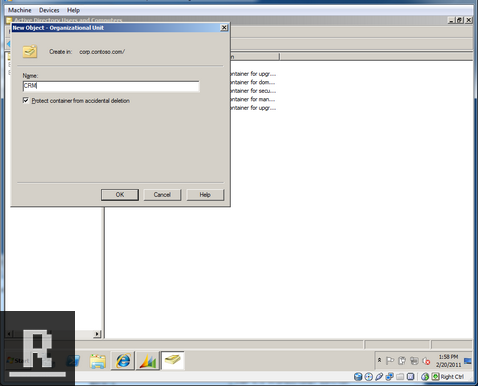
Right click corp.contoso.com -> New -> Organizational Unit, call it CRM, click OK, a new OU called CRM should now exist. Now you can close the Active Directory Users and Computers window.
Back to the Select Organization Unit screen, click Browse and choose CRM. Click Next.
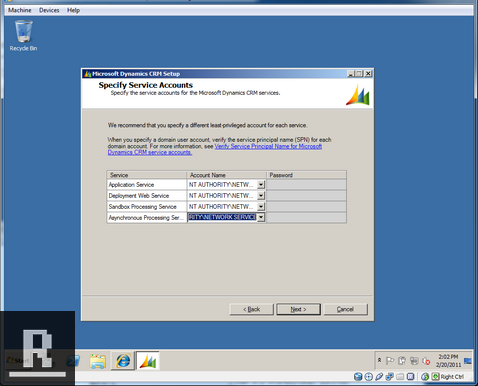
Specify Service Accounts
Set NT AUTHORITYNETWORK SERVICE for all of them. Click Next.
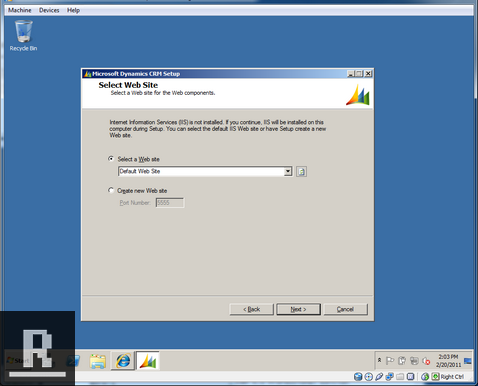
Select Web Site
Since this is just a dev box, I’m just going to use the Default Web Site. Click Next.
Specify E-mail Router Settings (leave blank), Click next.
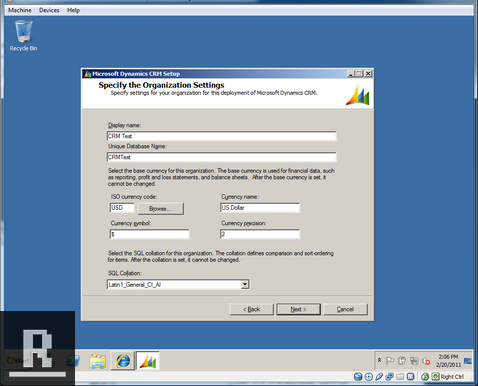
Specify the Organization Settings. I used the settings below, but you can choose whatever name and settings you’d like for your CRM instance.
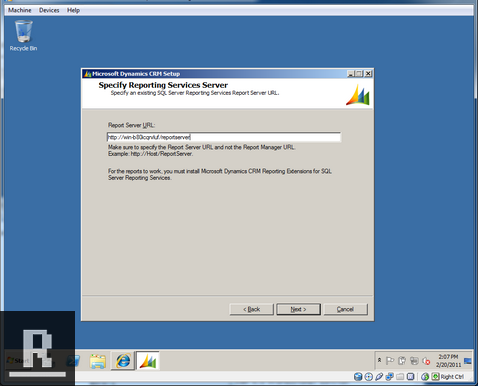
Specify Report Services Server. It should auto populate with your reporting server. Click Next
Customer Experience screen, click Next.
Select Microsoft Update Preference, click Use Microsoft Update when I check for updates, click Next.
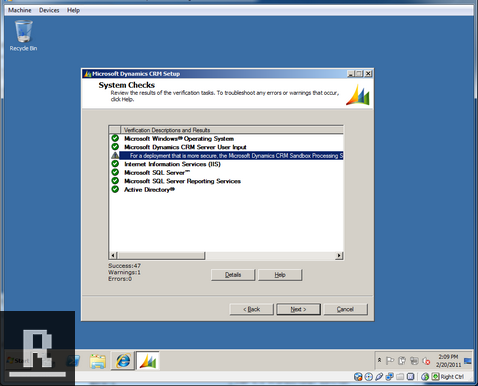
System checks should all pass, click Next.
Service Disruption Warning, click Next.
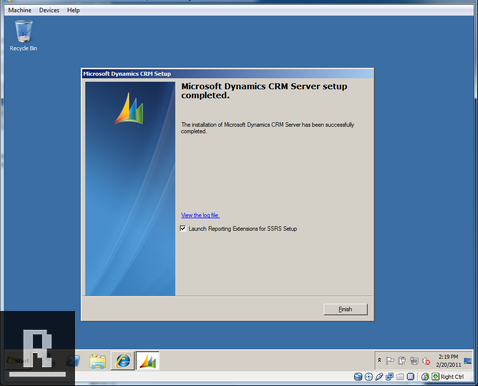
Ready to Install Microsoft Dynamics CRM, click Install. It’ll work its way through the CRM Install and you should be greeted with this lovely screen. Make sure to keep Launch Reporting Extensions for SSRS Setup checked. Click Finish.
Reporting Extensions setup, prompted for updates, click Next. Once it’s done checking for updates, click Next.
Accept the Reporting Extensions License Agreement, click I Accept.
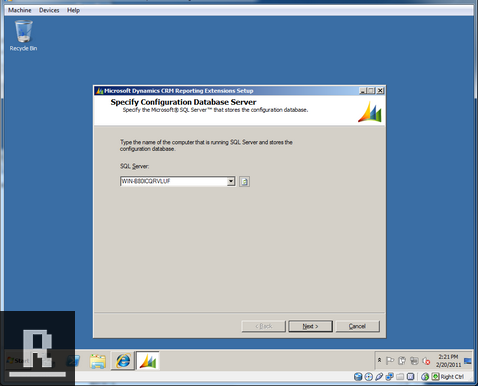
Specify Configuration Database Server, it should auto populate the SQL Server, click Next.
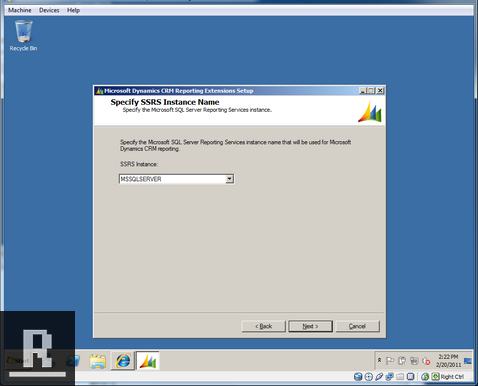
Specify SSRS Instance Name, leave as MSSQLSERVER, click Next
Use the default installation directory, click Next.
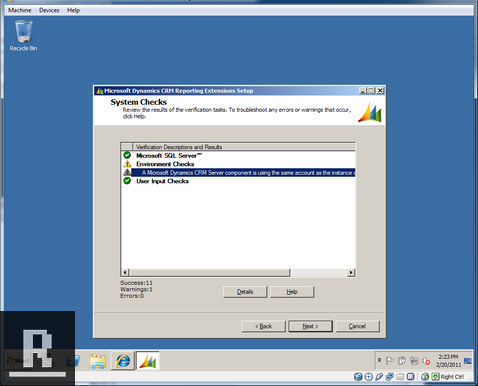
System checks should pass, click Next.
Service Disruption warning, click Next.
Ready to Install CRM Reporting Extensions, click Install.
MS Dynamics CRM Reporting Extensions setup, click Finish.
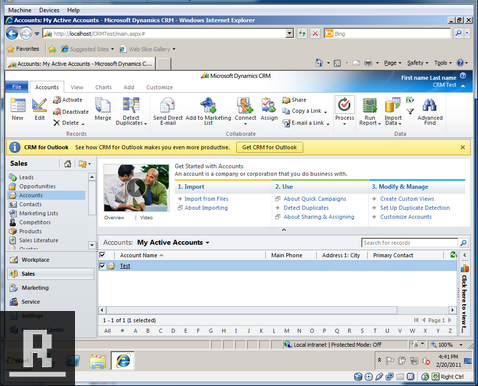
Now to reap the rewards. Open Internet Explorer and punch in “localhost” into the address bar and hit enter. CRM is ready to go!
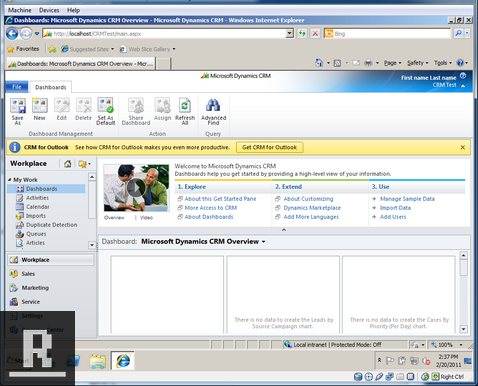
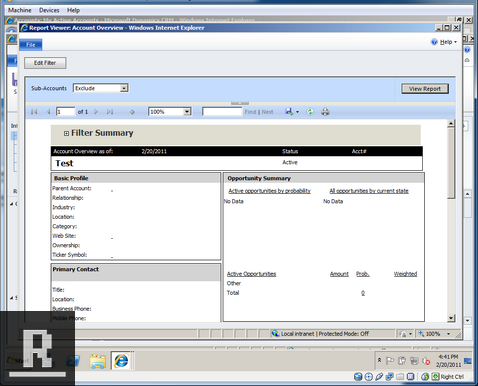
I would suggest creating a few new records and running a report against them to make sure everything is working correctly.
At this point you should create another snapshot with the caption of “Fresh CRM 2011 Install”.
Enjoy your CRM 2011 Virtual Machine!