CRM2011 – SharePoint 2010 Integration? Glue CRM 2011 & Share Point 2010 together? Make CRM 2011 and Share Point 2010 converse? I wasn’t sure what to call this exactly. “Hooking together” works for me!
Now that we have a CRM 2011 instance and a Share Point site working, let’s get them connected up! Go to this website and download Microsoft Dynamics CRM 2011 List Component for Microsoft SharePoint Server 2010:
Accept the License Terms.
Extract the files to a folder (I chose C:\CRM List).
You will get a prompt “The Installation is complete.” Click OK.
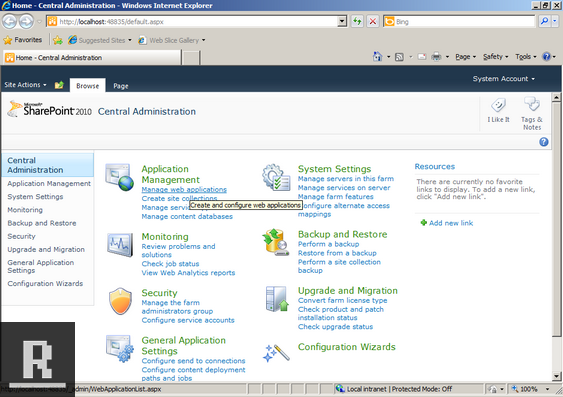
Let’s go over to the Share Point Central Administration Server to install the list component we just extracted. Connect to http://localhost:48835/ (your port might be different, be aware of this). Click Manage web applications.
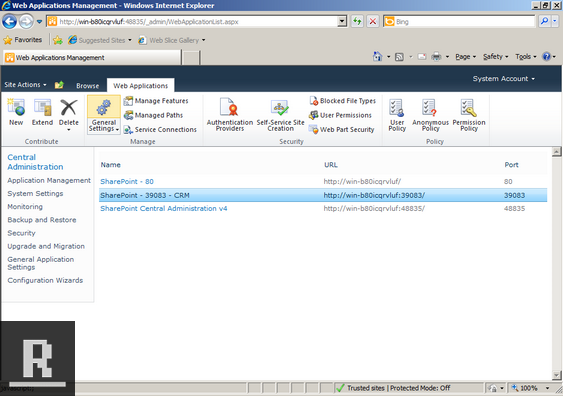
Click the new Share Point site, and then “General Settings” (the blue cogs).
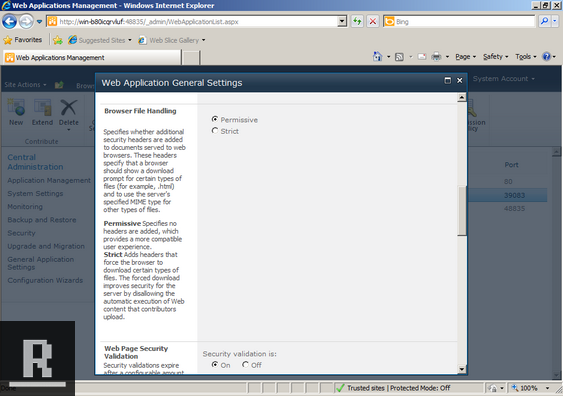
Scroll down to Browser File Handling and choose Permissive, Click OK.
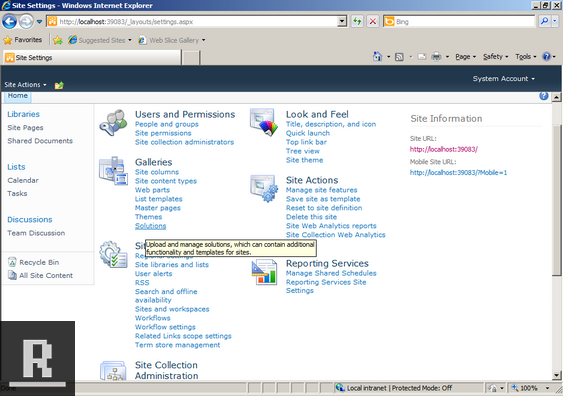
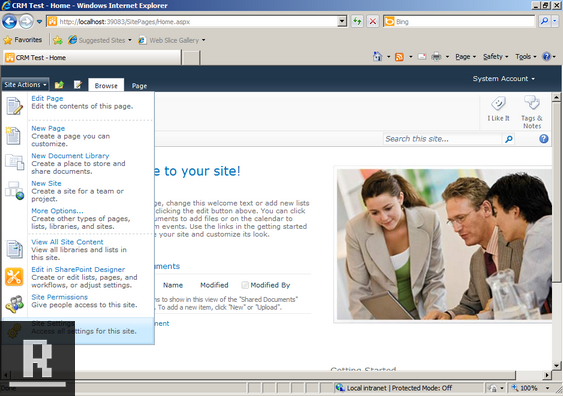
Let’s head back over to our new Share Point Site. Click Site Actions up top left, and then “Site Settings”.

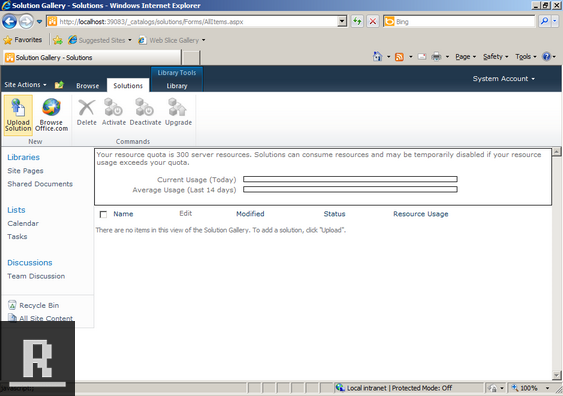
Under Galleries click “Solutions”.
Click the Word “Solutions” up top (you have to click the word “Solutions”, even though it looks selected), and then click “Upload Solution”.
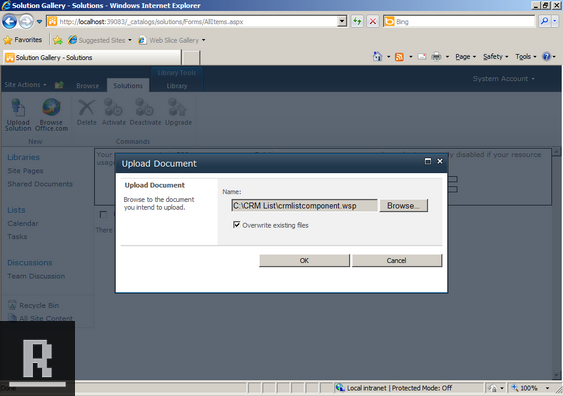
Select the .wsp component that we extracted wayyy back at the top of this. I used C:CRM List as my extract folder. Click OK.
You’ll get prompted at this point, I couldn’t active the control on this screen (but it still needs to be done). We need to make sure some services are running to activate the solution. Click Close.
Head back to the Share Point Central Administration. http://localhost:48835.
Found at
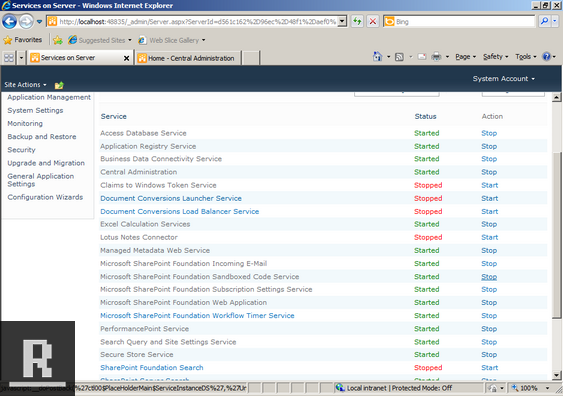
Click System Settings -> Manage Services on this server
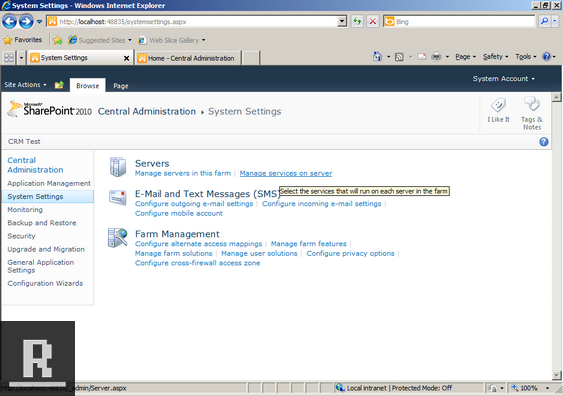
Click Start beside “Share Point Foundation Sandboxed Code Service”. I also started “Microsoft SharePoint Foundation Subscription Settings Service (by accident)” so that’s why that ones started.
Now to head back to our Share Point site http://localhost:39083/
Under Galleries click “Solutions”.

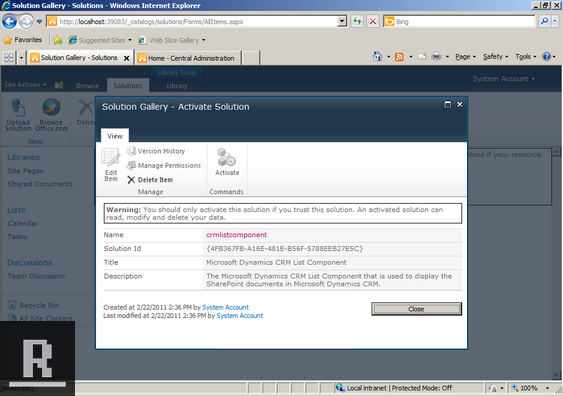
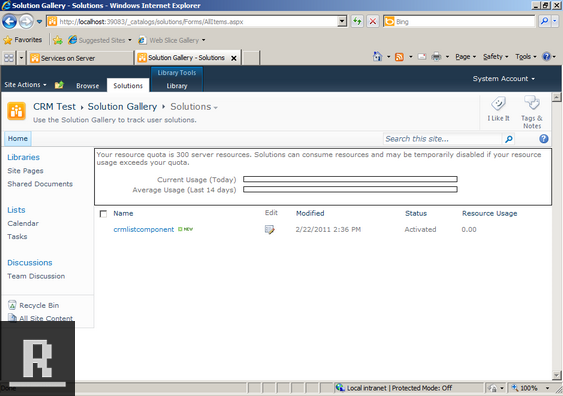
Click Solutions again, select crmlistcomponent, and the click “Activate” up top. Activate is now un-greyed out! Click Activate!
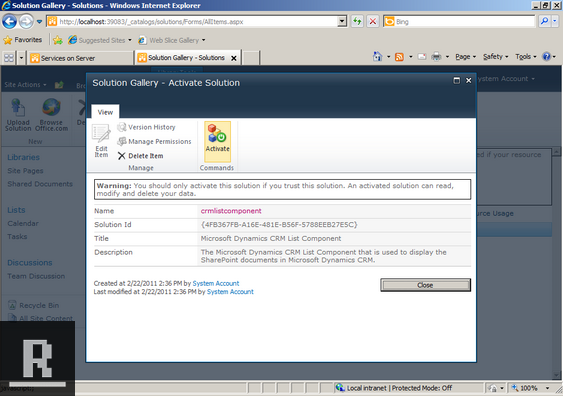
The solution has now been activated! Hurray!
There seems to be some confusion whether or not you need to run a power shell script to enable Activation of Share Point 2010 solutions (AllowHtcExtn). According to what I’ve read, you would need to run this if Share Point 2010 is running on a domain controller. I didn’t have to do this (and we’re on a domain controller), and I’ve yet to run into a problem with .htc stuff. Even in the Microsoft Dynamics CRM 2011 Readme it says:
“If you are using Microsoft SharePoint Server 2010 (On-Premises), you must add .htc extensions to the list of allowed file types:
a. Copy the AllowHtcExtn.ps1 script file to the server that is running Microsoft SharePoint Server 2010.
b. In the Windows PowerShell window or in the SharePoint Management Console, run the command: AllowHtcExtn.ps1 .
Example: AllowHtcExtn.ps1 http://servername”
Some people say the script works for them , and some say that using just the blog method (what we did) works
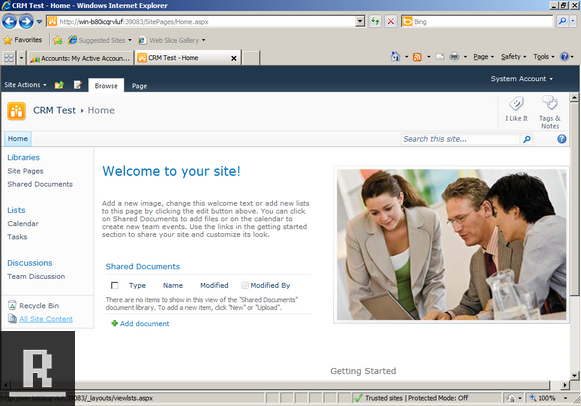
The sharepoint configuration is complete at this point. You probably want to take a snapshot, name it “After Sharepoint Configuration”. Let’s head over to our CRM server (localhost:85).
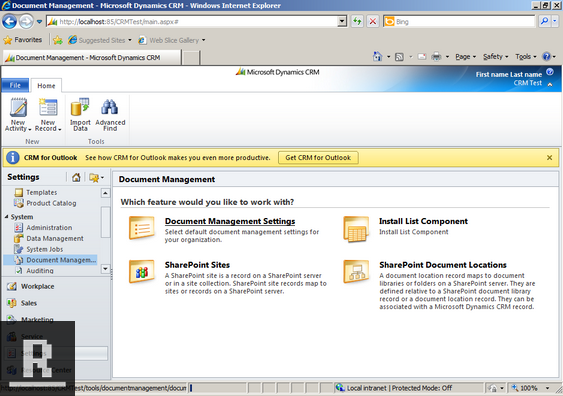
In CRM Click Settings -> Document Management -> Document Management Settings
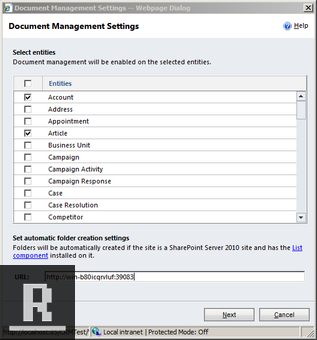
Select the entities that you want to have documents enabled on. This will create a “Documents” area when you open an instance of the entity. I’ll just leave the defaults for now. At the bottom punch in your Share Point site that you’ve created and click Next. This is the Share Point server we installed the list component on. You’re not allowed to use localhost:port, just use the computer name:port like below.
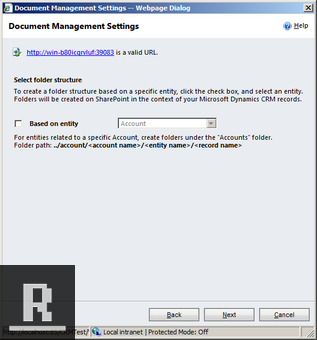
Don’t select the box, otherwise it will relate the files to those entities. Without checking the box you will end up with something like Site/EntityName/Record Name (which is what I want, especially if you’re using custom entities). Click Next.
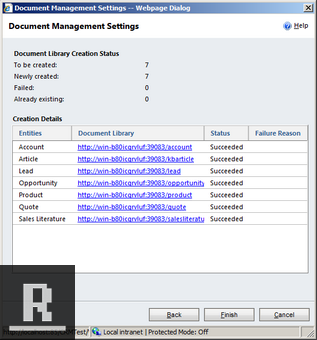
If “Libraries are being created in the path”, click Next.

Everything should “Succeed”, Click Finish.
Let’s test this bad boy out now.
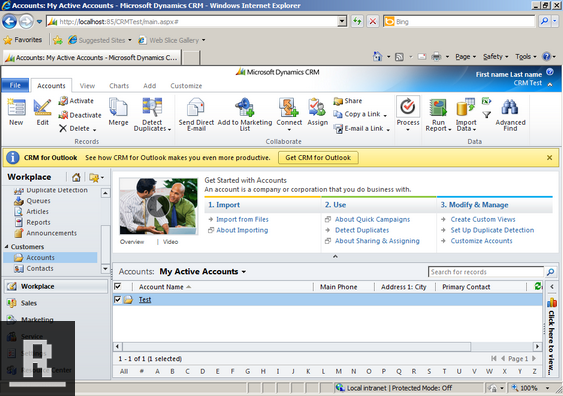
Create a new account called “Test”.
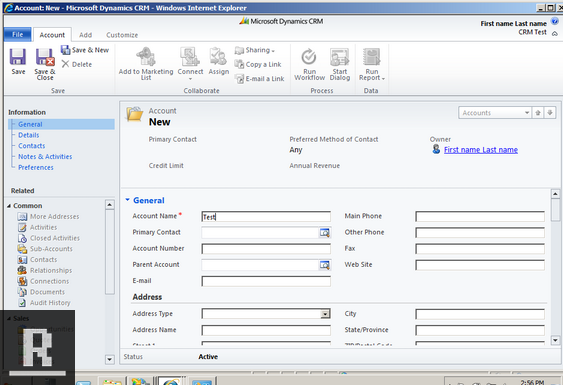
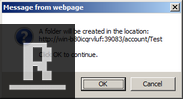
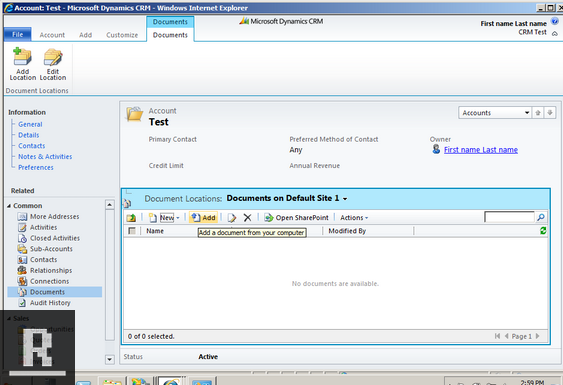
Click Save! Click “Documents” on the left side. You’ll get a prompt saying that the folder (Test) is being created under “Account”. Click OK.
Click Add.
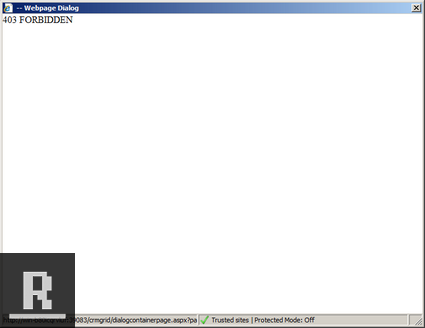
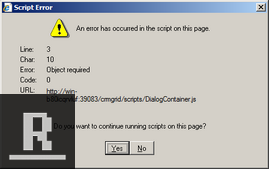
Now you’ll probably get these errors! /crmgrid/scripts/DialogContainer.js and 403 FORBIDDEN! Depressing. The only real information on this error was here: . It wasn’t very clear, but I stumbled through it. It seems that CRM 2011 doesn’t enjoy being called localhost. Let’s fix these up.
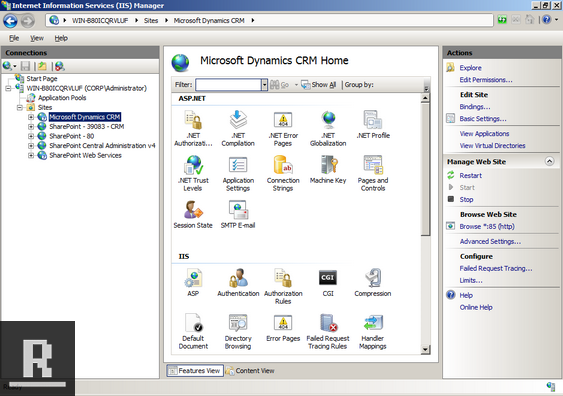
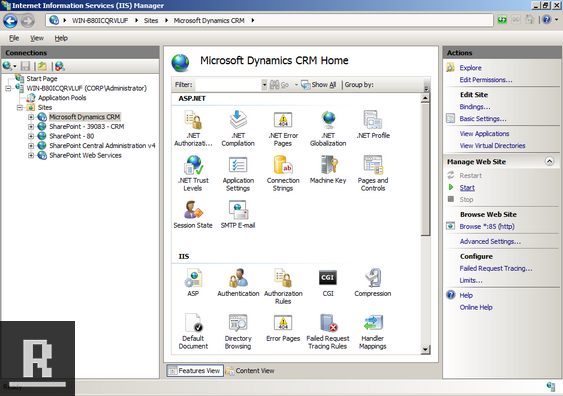
The fix for this was to run inetmgr -> Click Microsoft Dynamics CRM -> click Stop
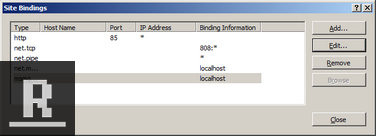
Click “Bindings…” on the right side. Click “Edit” on the items that show “localhost” and change it to my machine name: “win-b80icqrvluf”. This is so it has a a “real” name to connect to.
Before:
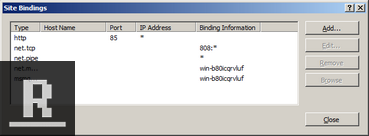
After:
Now click “Start” on the right side.
Head back over to the CRM (http://win-b80icqrvluf:85/CRMTest/main.aspx) make sure to use the host name, as it might give you the error if you use localhost. Open your Test Account again.
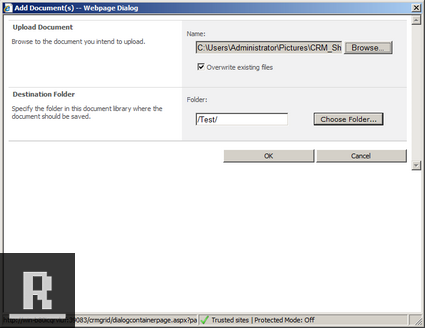
Click Documents -> Add, you should now see this popup (it can take a while to load for the first time on the VM). If you continue to get the error, stop both CRM 2011 and Share Point 2010 servers and restart them. If that doesn’t work, try restarting the whole server.
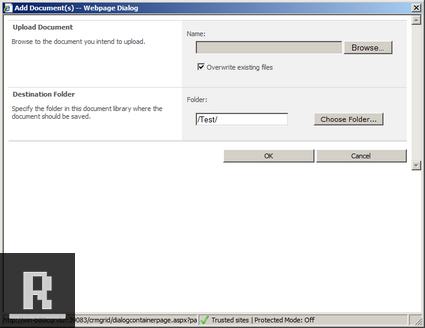
Pick a file, and click OK.
The file should be uploaded to Share Point now.

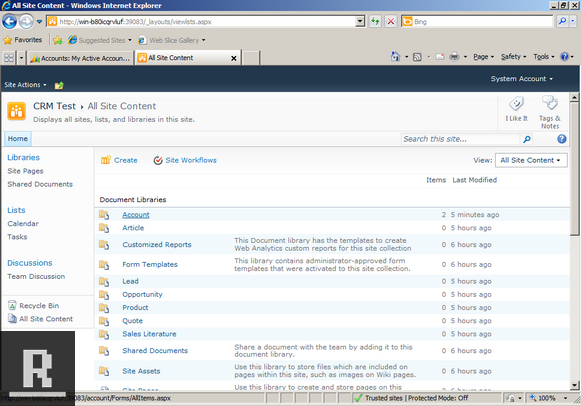
Head over to Share Point at http://win-b80icqrvluf:39083 and click “All Site Content” or “Libraries”.
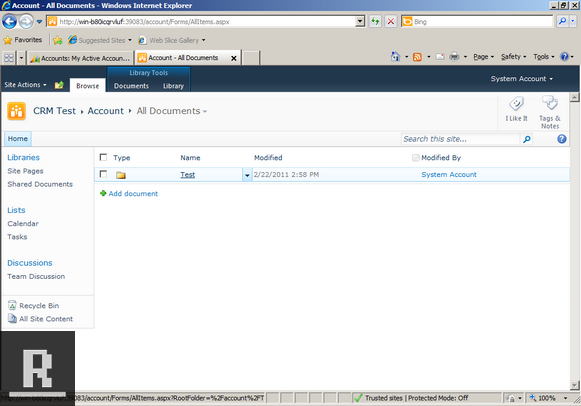
Click Account.
You can see that CRM has created a folder “Test” (for our record). It creates 1 folder per record. Click it to see the files associated to that record!!
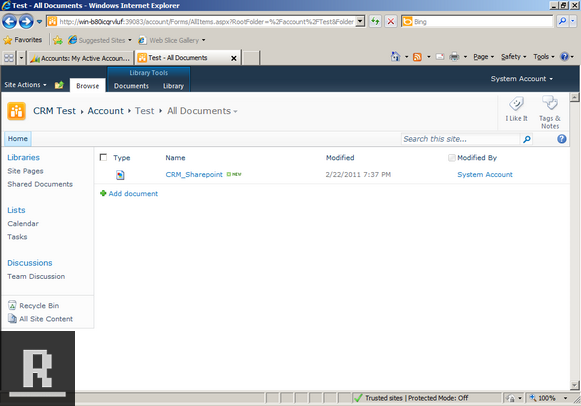
The files associated to the record “Test” in Accounts.
Share Point and CRM have combined into a super awesome force of doom. But we’re still missing 1 core piece of functionality (due to not picking a port when we installed CRM).
Let’s go fix our CRM 2011 web services.