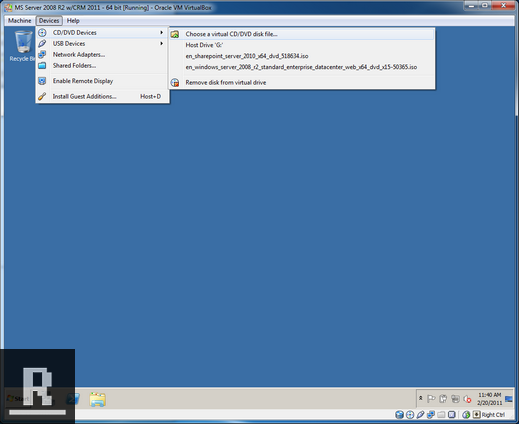
Let’s load up the Share Point 2010 ISO. Click Devices -> CD/DVD Devices -> Choose a virtual CD/DVD disk file -> Pick the Share Point 2010 64 bit ISO. Then choose “Install software prerequisites”
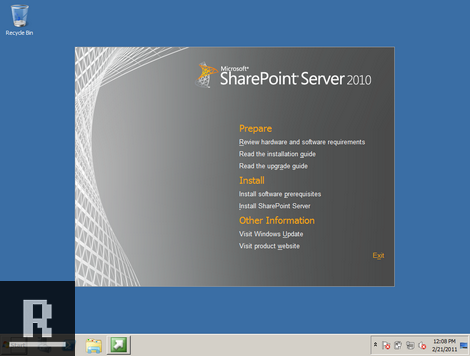
Click Next on the Welcome Screen
Accept the Terms and Conditions, Click Next
Sometimes (it seems random) but when adding the prerequisites it fails out. Don’t fear! Just manually add the item that it failed on. Just google whatever item failed (Microsoft Server Speech Recognition Language – TELE(en-US) successfully for example) find the installation file and then re-run the prerequisites. I’ve had it happen randomly with 2-4 different modules.
Click Finish once the installation is complete.
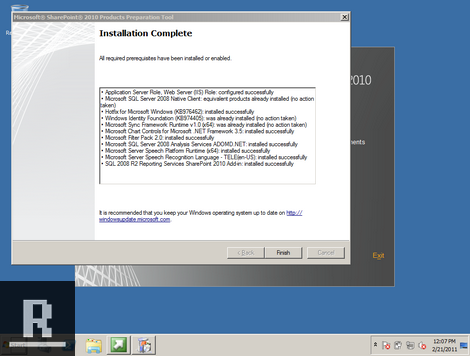
Click Install SharePoint Server.
Punch in your SharePoint key, Click Next.
Accept the Software License Terms, Click Next.
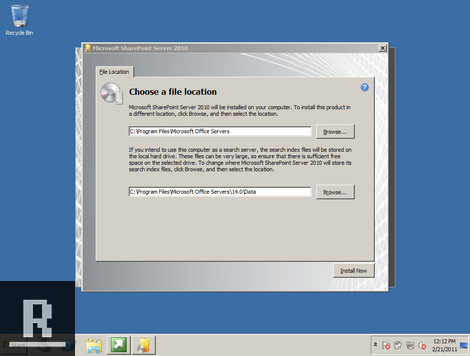
Leave the default installation locations. Click Install Now.
Once it finishes, make sure the “Run the SharePoint Products Configuration Wizard now” is checked and click Close.
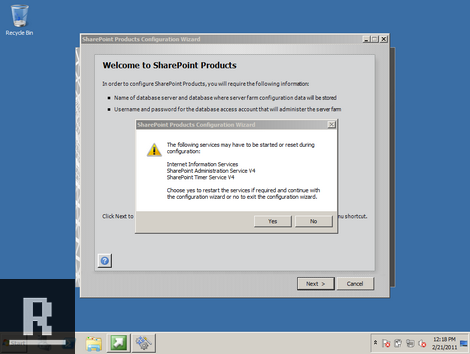
Click Next on the welcome screen.
Click Yes to the start/restart services prompt.
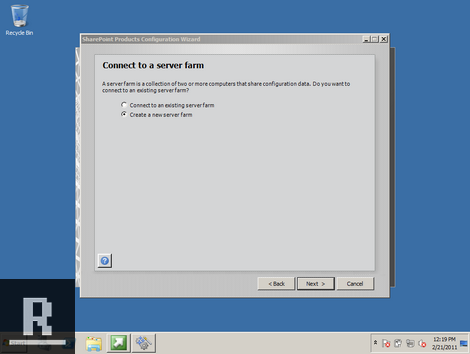
Make sure “Create new server farm” is selected, Click Next.
Punch in a Database server name. If you’ve been following my other tutorials you’ll want to use Administrator/pass@word1 for the Database Access Account. Click Next.
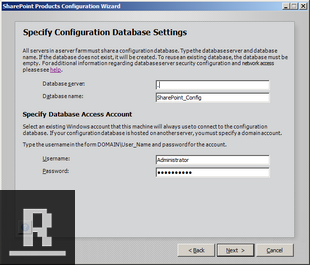
If you get the error “Cannot connect to database master at SQL Server at . The database might not exist, or the current user does not have permission to connect to it.” Make sure to double check your Database Server name. Using “.” (localhost) should work if you’ve been following the previous guides. If that checks out, make sure your Administrator Account has securityadmin, dbcreator and sysadmin roles in SQL Server 2008 R2.
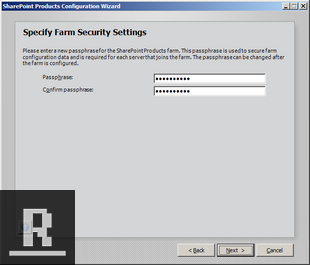
On the Specify Farm Security Settings page, punch in “pass@word1” for the passphrase. Click next.
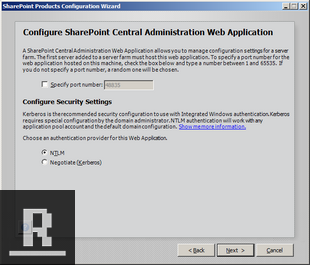
Configure SharePoint Central Administration Web Application page, click Next.
Completing the SharePoint Products Configuration Wizard screen, Click Next.
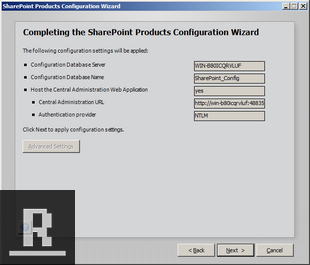
On the Configuration Successful screen, click Finish.
I would take a snapshot at this point. Named “After Share Point installation”.
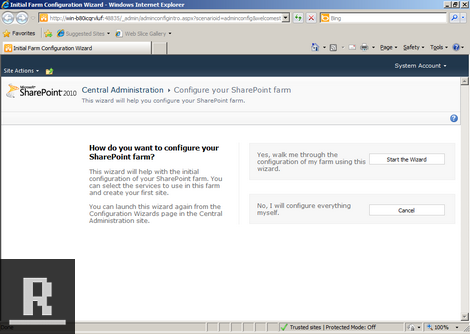
The Farm configuration wizard should open up, click “Start the Wizard”.
Restart the machine at this point. I kept getting error “The service applications for the service “Search Service Application” could not be provisioned” on the next step until I restarted.
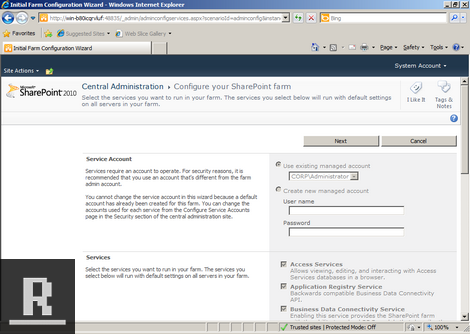
Click Next on the Service Account step.
Punch in a Title name for the CRM Server. In the URL point it to Sites, and then punch in the name you gave your SharePoint server. Click OK.
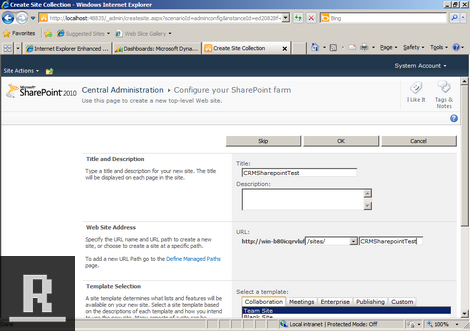
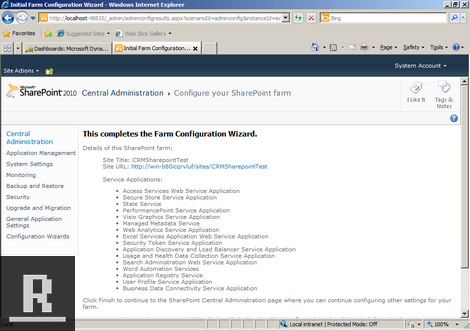
The Farm Configuration is complete now!
Click Finish. Now you can go to http://sites/CRMSharepointTest and you will see your SharePoint server.
Let’s go and change the CRM 2011 port.