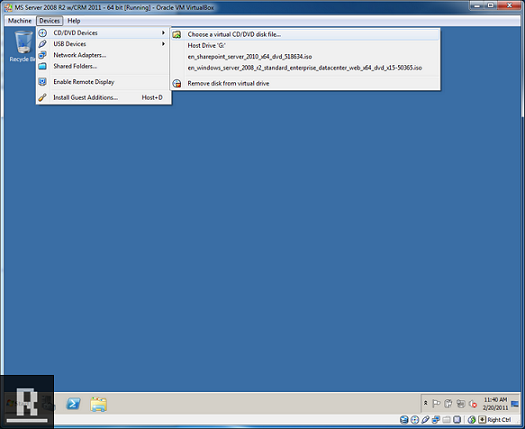
We’re going to need to load up the ISO/CD/DVD.
For an ISO click Devices -> CD/DVD Devices -> Choose a virtual CD/DVD desk file -> Pick the SQL Server 2008 R2 ISO
For an CD/DVD’s click Devices -> CD/DVD Devices -> Host Drive
Click Run Setup when prompted.
If you get prompted to enable the .Net Framework Core role, click OK.
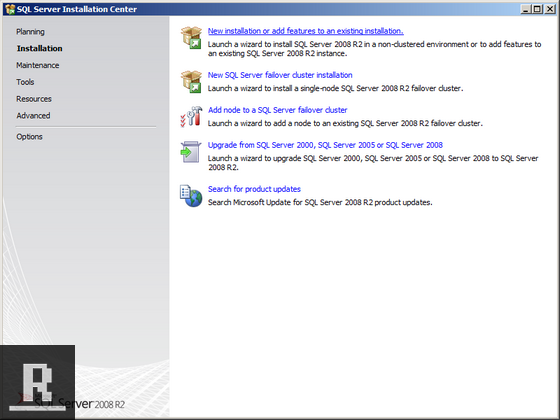
SQL Server Installation Center should come up. Click Installation, and then New Installation or add features to an existing installation.
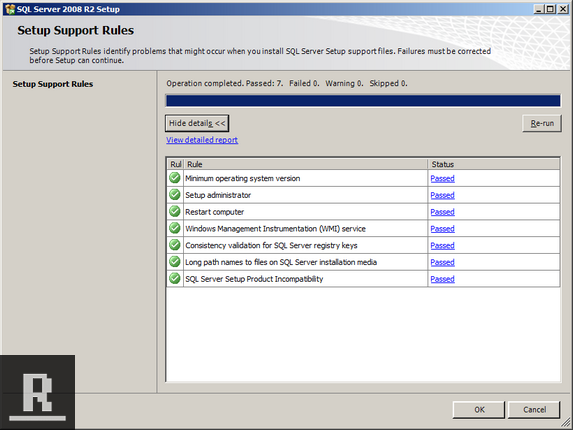
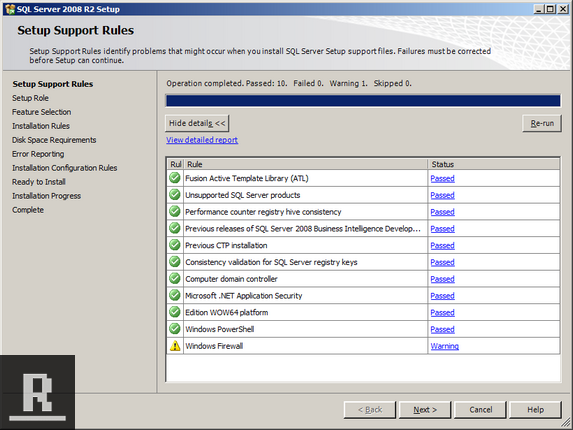
Everything should pass on the Support Setup, Click OK.
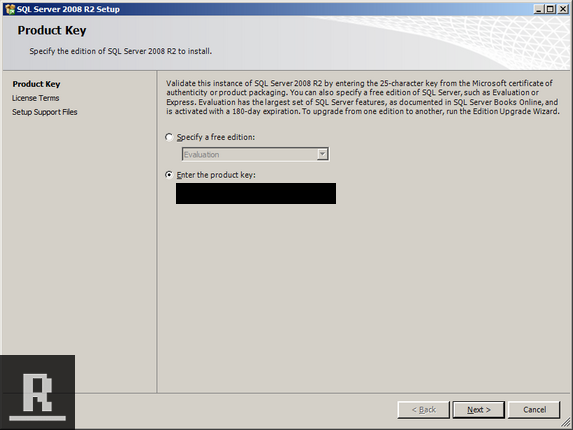
Enter your product key and hit next
Accept the Terms and Conditions and click Next.
Click Install which will install the SQL Support Files.
Now for the actual Setup.
All the tests should pass, click next.
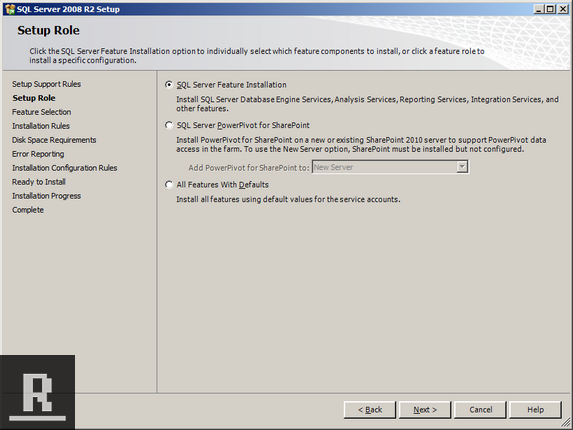
Click SQL Server Feature Installation , click Next
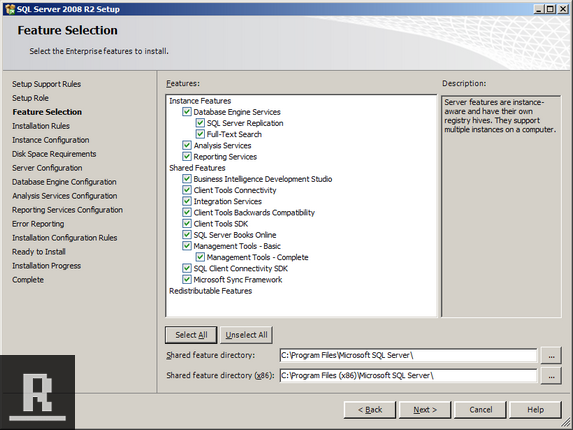
Click Select All, Click Next
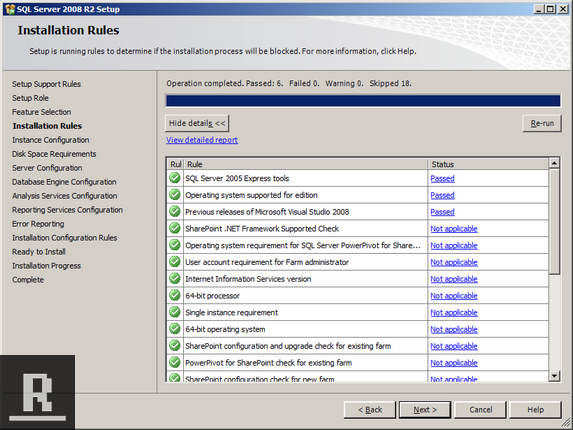
Everything should pass on the next step, click next.
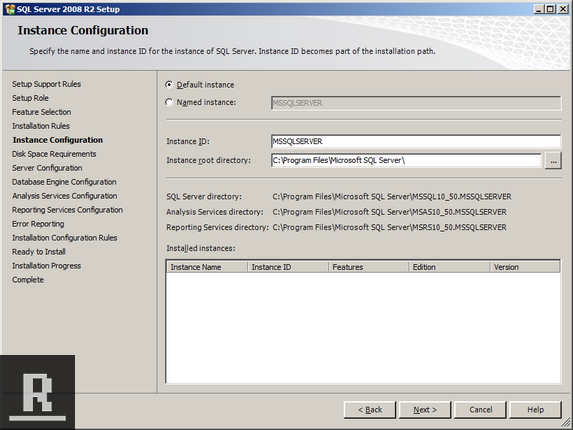
Make sure Default instance is selected, click next
Disk Space requirements should pass (as we have 50 gigs), click Next
Next is assigning the accounts to the services. Since this is just a dev box I use the system account, I’m not worried about security. Click Use the same account for all SQL Server services, and then choose NT AUTHORITYSYSTEM. Click Next.
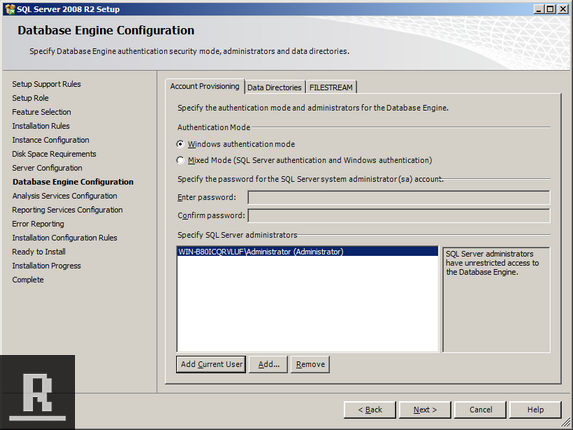
For Setting up the Database Engine Account Provisioning, click “Add Current User” (which will add the administrator account you’re logged in as). Click Next
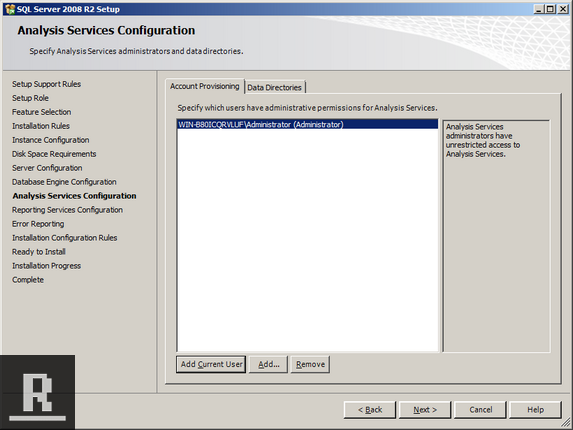
For Setting up the Analysis Service Account Provisioning, click “Add Current User” (which will add the administrator account you’re logged in as). Click Next
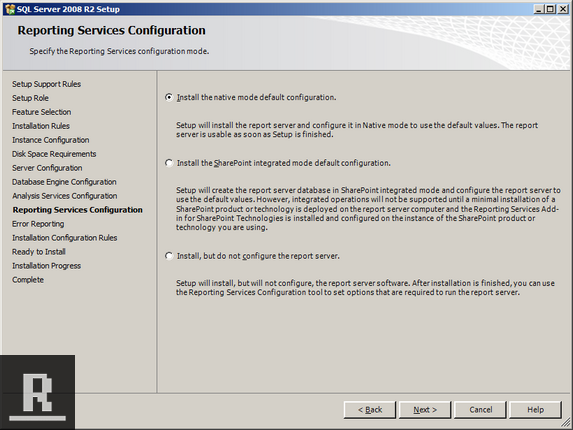
Make sure “Install the native mode default configuration” is selected, and click Next.
Error Reporting, click Next
Installation Configuration Rules should pass, click Next
Ready to Install screen, click Next
Kick back and have a beer as this take a while to install
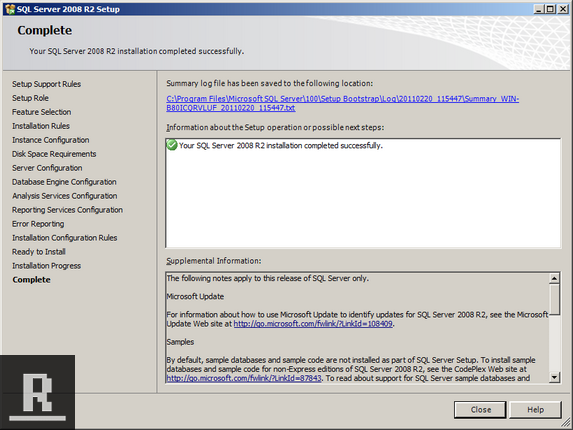
Success!
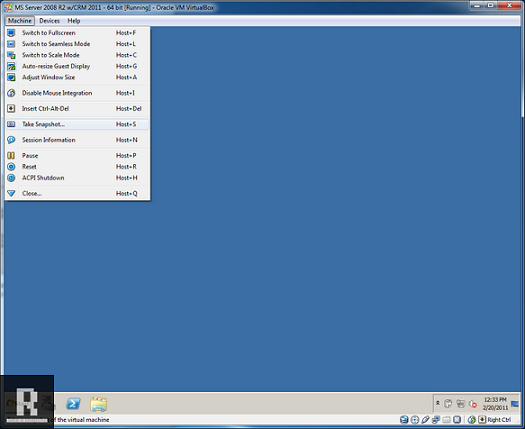
I would suggest a quick reboot of the virtual machine at this point. Once the machine has rebooted, lets take a snapshot up to where we are (in case something goes bad in the future, we can go back to this snapshot).
Click Machine -> Take Snapshot
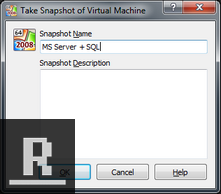
Give it a quick name, and then hit save.
Let’s go create our domain controller.