- *Update May 5th, 2018 — The second part is taking longer than expected due to complications/volatility with the authentication component of AWP Amplify. I’ll be writing a custom login/create screen for the second part.
- *Update May 19th, 2018 — Not sure how soon I’ll complete the second part of this due to other priorities.
- *Update Dec 14, 2022 — This is ancient, it’s unlikely you want to use any of it
I was wanting to title this “the lost AWS Mobile manual” as I feel there’s still gaps on how to get React Native up and running on AWS with a serverless infrastructure. I’m hoping this series will fill that gap until something better comes along.
I prefer to build applications layer by layer. Starting out with a simplistic structure, and working it’s way up to a complex application. The current templates to get up and running start you with all of the bells and whistles, but it’s hard to comprehend what’s actually happening, and how everything works together.
Another goal is to be able to do everything by command line. AWS Mobile has a GUI interface, but it’s a bit confusing how everything works and syncs up on the back end (we’ll get more into this later on) and how it integrates with AWS Amplify and AWS Appsync.
What we hope to achieve:
- A math quiz app that runs offline and online (syncing up when back online).
- Runs on both iOS and Android (we’re going to focus on iOS first and then flip over to Android at the end)
- Built using AWS Mobile CLI via the commandline.
- Full serverless infrastructure on AWS(using services all hosted with AWS such as cognito, lambda, dynamo db)
- Use AWS Appsync and AWS Amplify to make our lives easier.
Let’s start with an architecture diagram to figure out what we’re going to build. Here’s what we’re going to build in Part 1 (I’ll continue to add to it throughout the series as we add more services):

This series assumes you have some basic understanding of React Native, if not, head over here to build an app with Expo. You’ll also need to set up your development environments under the “Building Project with Native Code tab”. We’re not going to use Expo in this tutorial due to various limitations.
We’re going to get started using create-react-native-app. create-react-native-app is a command line utility which allows us to get a react native app up and running really quickly. It handles all the configuration and setup for the react native app. By default it sets up the app using Expo (for basic apps), but we’re going to ‘eject’ the app to give us full control.
Assuming you have node installed, let’s get started. We’re going to use npm throughout this series, however feel free to use yarn if you want.
It will look like this:
1
2
3
4
5
6
7
> create-react-native-app math-quiz
> cd math-quiz
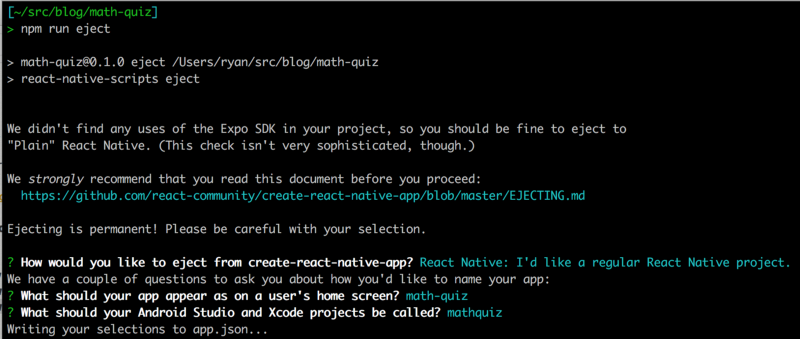
> npm run eject
Select: React Native: I'd like a regular React Native project.
What should your app appear as on a user's home screen? math-quiz
What should your Android Studio and Xcode projects be called? mathquiz
> npm run ios
We should be good to run the app now running npm run ios.
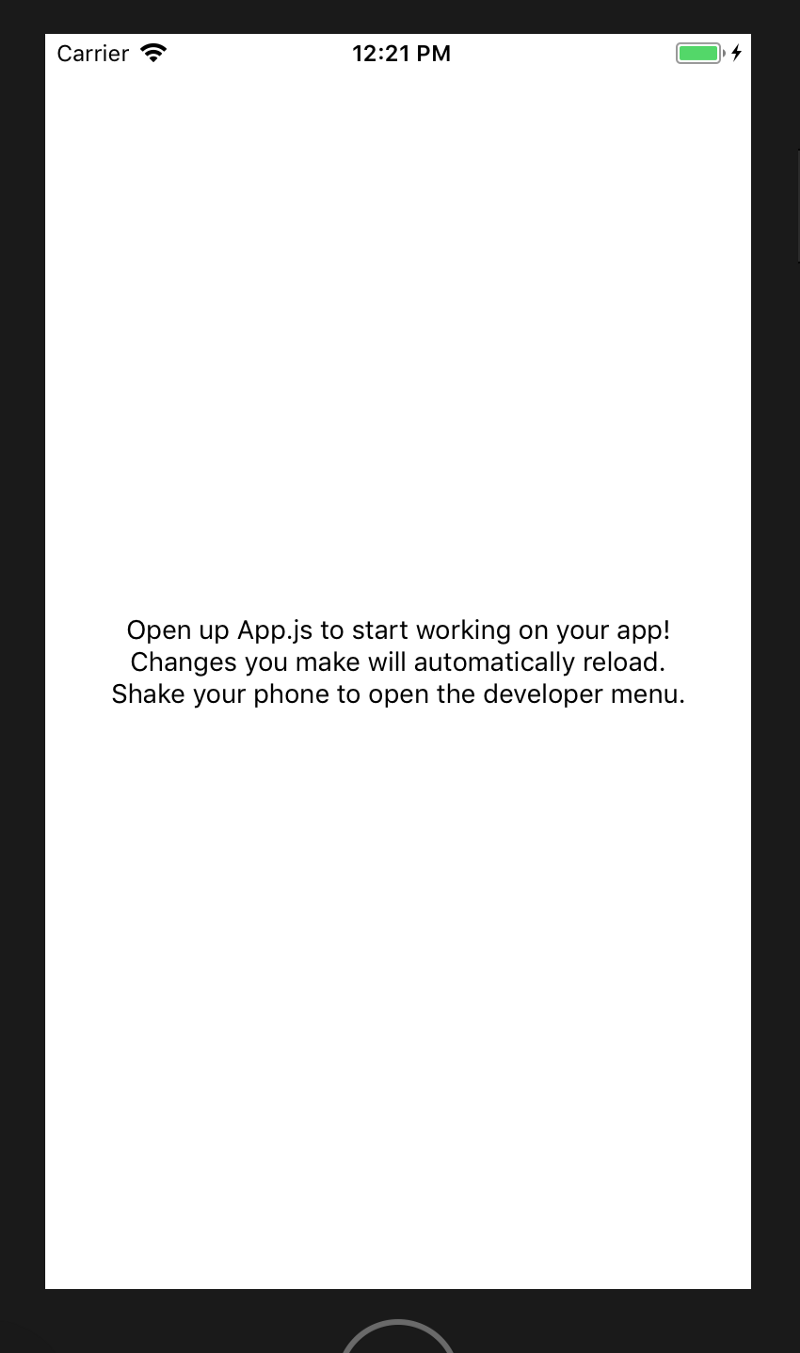
It’s… beautiful…
Now, let’s get started with AWS Mobile. What is AWS Mobile? AWS Mobile is a service, that connects all of our other AWS services together (Cognito, Lambda, Dynamo DB, S3, etc.). AWS Mobile is similar to AWS Codestar which allows you to setup CI/CD quickly. In short, AWS Mobile allows us to setup mobile/web applications quickly.
Alright, now let’s setup AWS Mobile CLI: It’s going to setup everything for us in AWS within AWS Mobile. Don’t forget to run awsmobile configure to setup your AWS credentials.
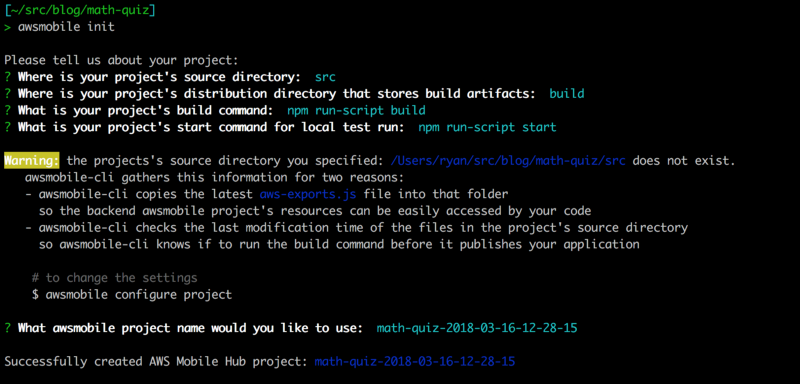
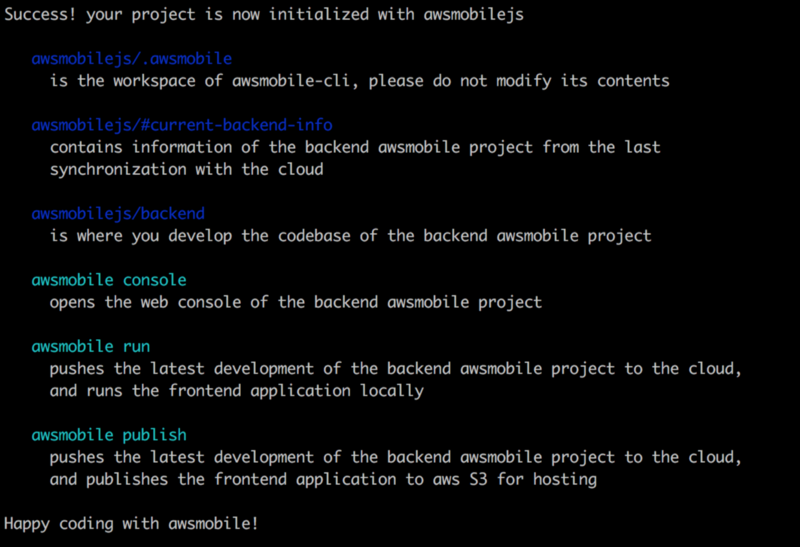
Now run ~/src/blog/math-quiz/awsmobile init
Hit enter for all of the questions. This is going to setup the front-end project (this React Native app) to work with AWS Mobile and create the back-end project on AWS Mobile.
Now run awsmobile console which will open a new browser window and drop you on your AWS Mobile project. One thing to note, the AWS Mobile CLI is setup to work for both React.js and React Native apps. Some of the command line helpers will work, other won’t. Full list of CLI commands/options are located here.
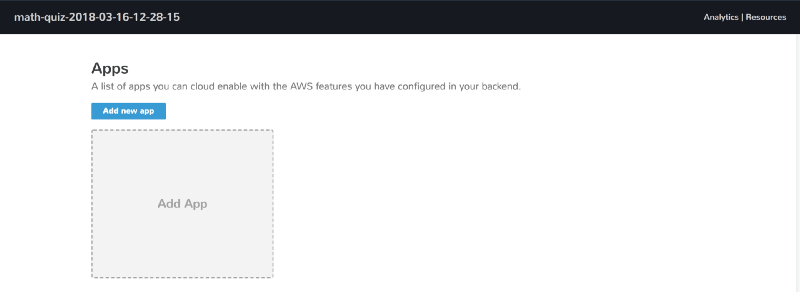
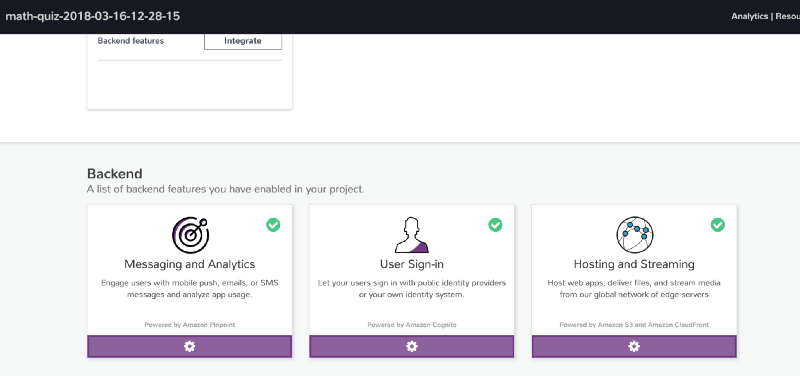
Don’t be alarmed to see that your apps area is empty. Scroll down and you can see by default you can see the following services were added (really the bare minimum for an AWS Mobile app):
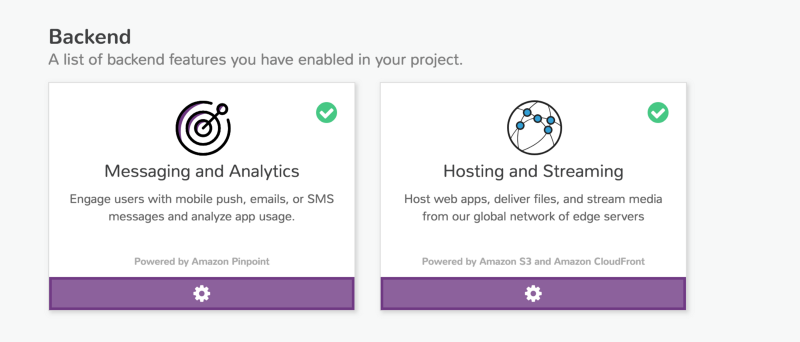
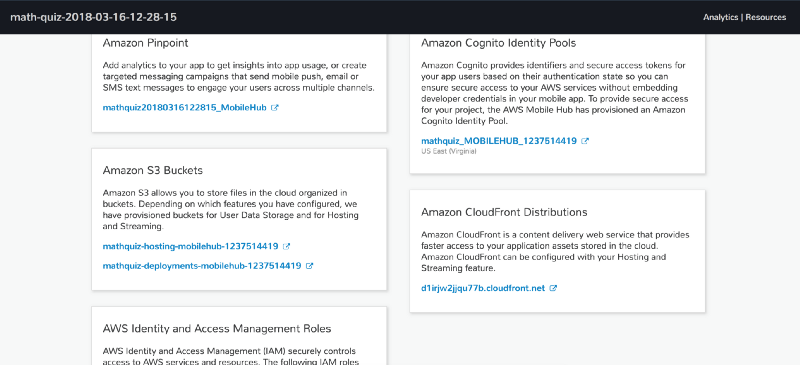
At the top you can click Analytics to see what was setup for you in AWS pinpoint, but more interestingly you can click the Resources to see what services were configured for you via AWS Mobile.
Here within Resources you can see Pinpoint for analytics, Cognito identity pools for secure app access (not users, we’ll add that later), S3 for files, Cloudfront for distribution and IAM to secure your services/resources.
Alright, now, let’s add authentication to the app. We’re going to need to setup AWS Amplify in our app for this. AWS Amplify is a library that AWS has built to quickly spin up functionality such as authentication, analytics and file uploads.
Remember that empty App box? Scroll up and click Add App.
Step 1: Choose React Native, then Add.
Step 2: You can skip this step (we already setup our backend when we did awsmobile init) — Click Next
Step 3: Next
What if I told you, you didn’t need to do this step at all?
We did this all through command line earlier. All this “Add App” section does is give you steps on how to setup a project and initialize with a key (via awsmobile init
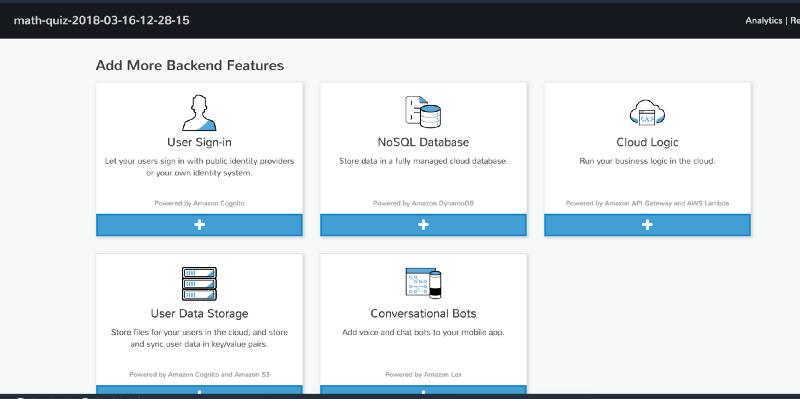
At this point, we have basically.. Nothing. Hurray. We have a basic shell of a react native app and a AWS Mobile project created. Let’s add some authentication. If you had scrolled down in your AWS Mobile app, you would have seen that we can add more backend services.
Don’t actually click any of these, once we setup our app with AWS Amplify we’re going to use the AWS Mobile CLI to setup User Sign-in.
Let’s install AWS Amplify to our react native app. Follow the instructions here. Your App.js should look like this once it’s all done:
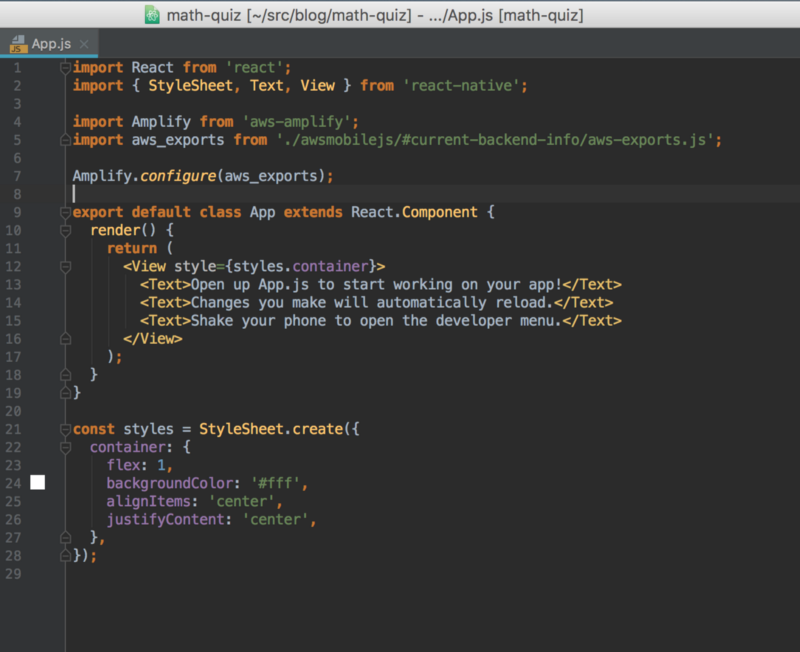
Run the app again to make sure we didn’t blow something up: npm run ios
Alright, now that we have AWS Amplify setup in our react native app, let’s hook up the actual functionality. Edit your App.js to look like:
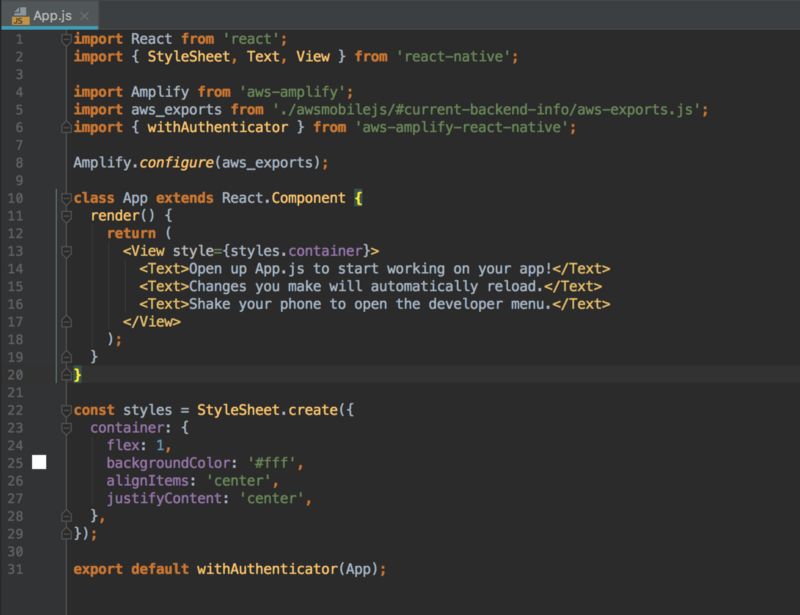
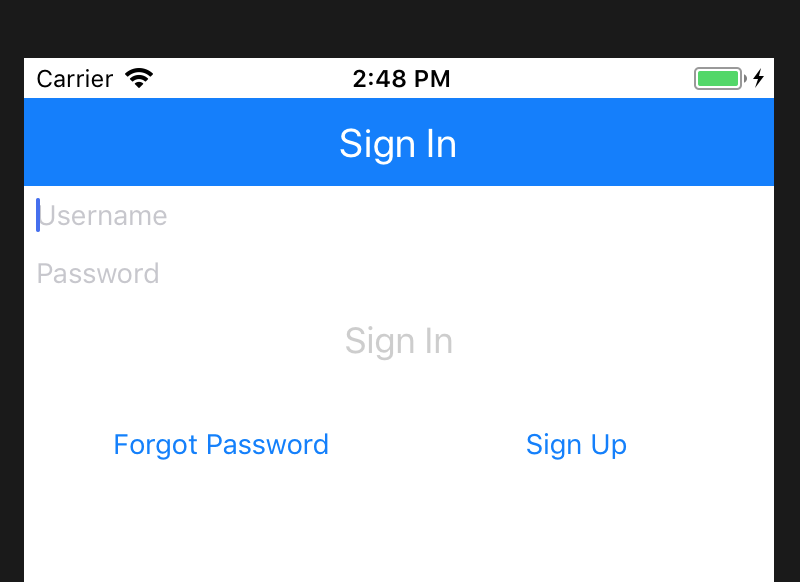
Run the app again to make sure we didn’t blow something up and to view our sign in page: npm run ios
Now, let’s enable the login on the backend (the form won’t work, since there’s nothing in AWS Mobile hooked up). Run:
1
awsmobile user-signin enable --prompt
When prompted, select “Go to advanced settings”. Answer the questions like so. If we don’t pass the prompt flag, it ends up setting up 2FA, which we don’t want:

So at this point we’ve setup AWSAmplify for login on the front end, and configured our project to setup AWSMobile for User-Sign In. Now all we need to do is push those changes up to AWSMobile.
Run: awsmobile push
Interestingly enough I received an error that my local copy was behind the AWS Mobile copy. I had to run awsmobile pull and then awsmobile push to sync everything up (maybe due to us adding the app?).
On the push, I received this error: BadRequestException: MFA configuration cannot be blank. Attribute: mfa-configuration. After doing some digging in the awsmobile-cli source code and looking through the issues (https://github.com/aws/awsmobile-cli/issues/52) — I thought I might have been because I was using awsmobile-cli v1.0.14. I updated to v1.0.19 and still had the same problem. I’ll create a new issue for this once I’m done this post.
I ended up going in and editing math-quiz/awsmobilejs/backend/mobile-hub-project.yml like so:
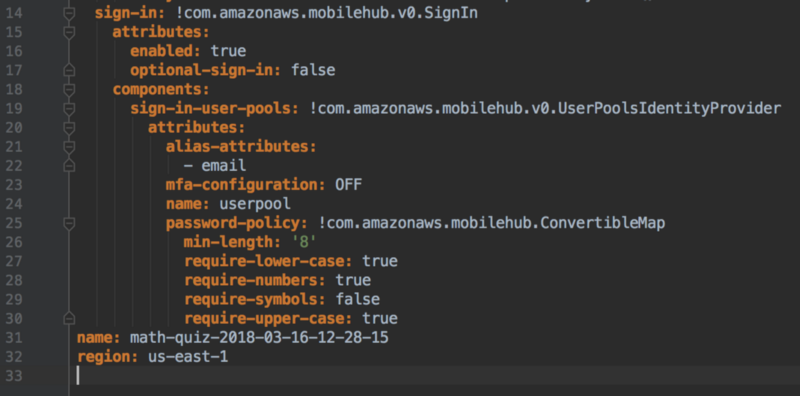
Note the “mfa-configuration: OFF”
My awsmobile push was successful after that. Now let’s run awsmobile console to pop back to our AWSMobile app. Scroll down and now you can see that User Sign-in has been enabled!
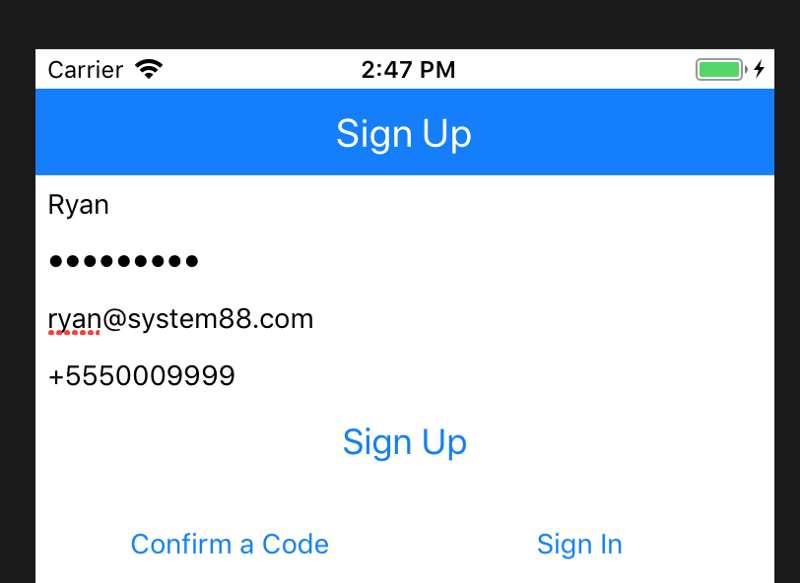
Slick. Let’s try it on the app now. npm run ios. Click Sign Up, enter your details (the react native app is still asking for all of the information, we’ll fix that in a bit).
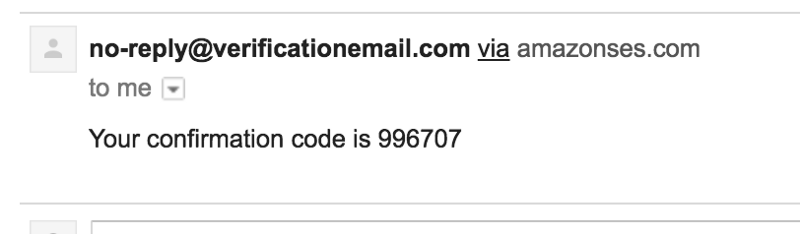
Jump to your email, grab your confirmation code:
Confirm it:
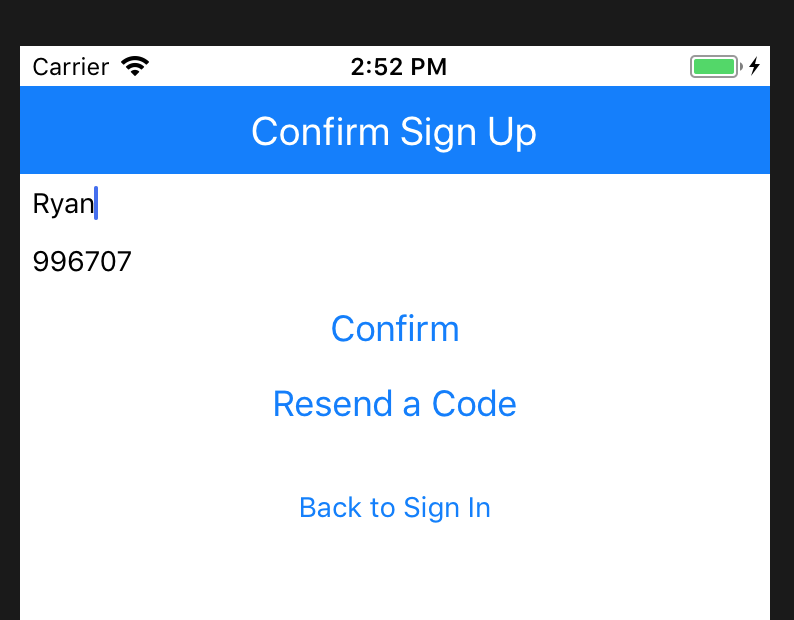
Now login!
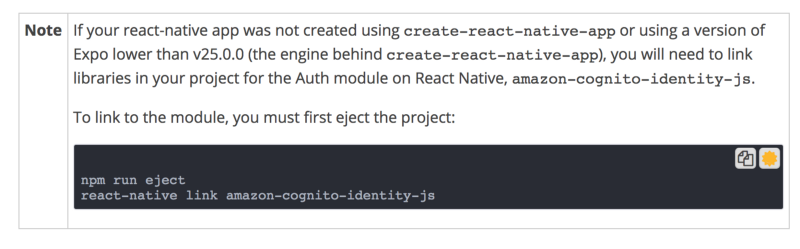
When I went to login I received the error “undefined is not an object(evaluating ‘RNAWSCognito.computeModPow’)”. After some digging I found that I needed to run ‘react-native link amazon-cognito-identity-js’.
If we rewind back to this page on AWS. It has a note there saying “If your react-native app was not created using create-react-native-app”, so I jumped over it. Turns out we did need to run it.
Let’s run npm run ios and we should be able to login.
Woohoo! Logged in.. Or so we think… Let’s display a welcome message with our user name and our access token to prove we’re actually logged in using Cognito.
Update your App.js to look like this:
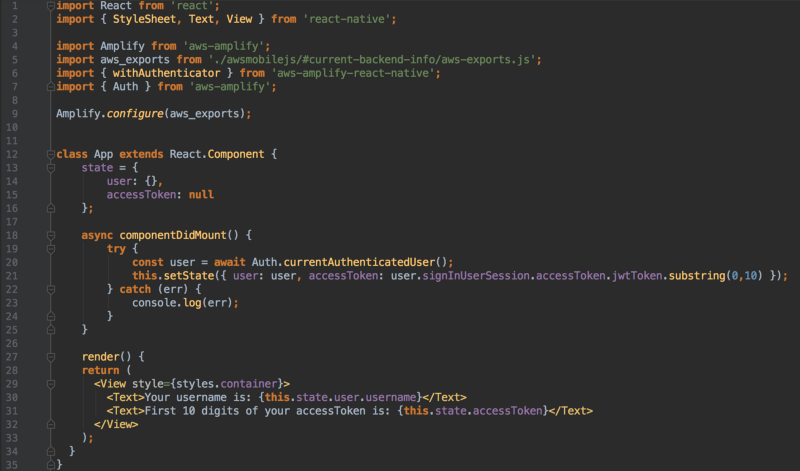
We’re going to grab our user from the Auth object (provided by the AWS Amplify library) and the access token, populate the state, and display it in our render function.
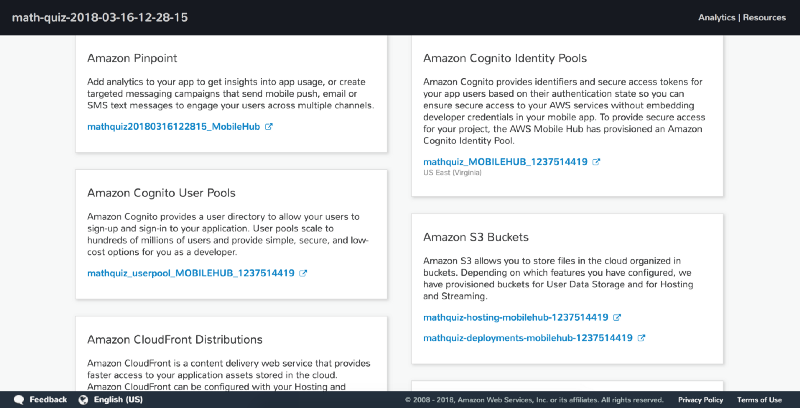
Hurray! We’re authorized! Or so we think.. Let’s go make sure. Run awsmobile console and click the Resources link. Amazon Cognito User Pools was added when we added the User Sign-in Backend service. Click the userpool link (mathquiz_userpool_MOBILEHUB_1237514419 in this case).
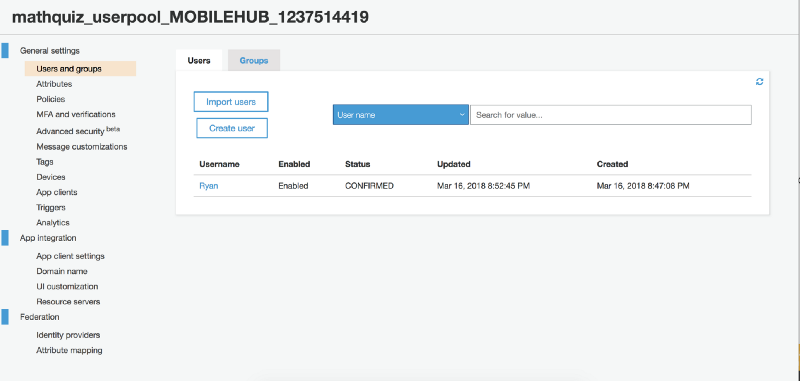
Click “User and groups” and now we can see our user that we created earlier!
And there we have it. We’ve setup up our React Native application on AWS Mobile, with authentication!
Stay tuned for the next post which will clean up the authentication screens. Then I’ll move onto setting up and using AWS Appsync and AWS Mobile Cloud Logic (Lambda + API Gateway).